Inside our 6-step wooden box manufacturing process
A walkthrough of what really happens between rough timber and the finished box that lands in your warehouse — from kiln drying to phytosanitary certificates.
A buyer from Amsterdam visited our Cao County factory last March. He had been ordering tea boxes from us for two years — about 18,000 units a year for his retail brand in the Netherlands — but he had never seen the place in person. After we picked him up at Heze airport we drove the 45 minutes east, pulled into the yard around ten in the morning, and parked next to the timber pile.
He stood at the timber pile for ten minutes without saying a word. Then he turned to me and asked: "How long does it actually take to make one of my boxes?"
The honest answer is that a single tea box, from rough timber to packed export carton, takes roughly 14 calendar days and about 26 minutes of actual labor. The 14 days is mostly drying time, finishing cure time, and waiting for batches to consolidate. The 26 minutes is what you are paying for.
What follows is what those 26 minutes actually look like, broken into the six manufacturing steps every box at our 15,000 m² facility goes through. We have learned that the buyers who understand this process end up making better decisions about their products. They specify smarter, they negotiate smarter, and they catch problems earlier — which is worth a lot more than any pricing argument.
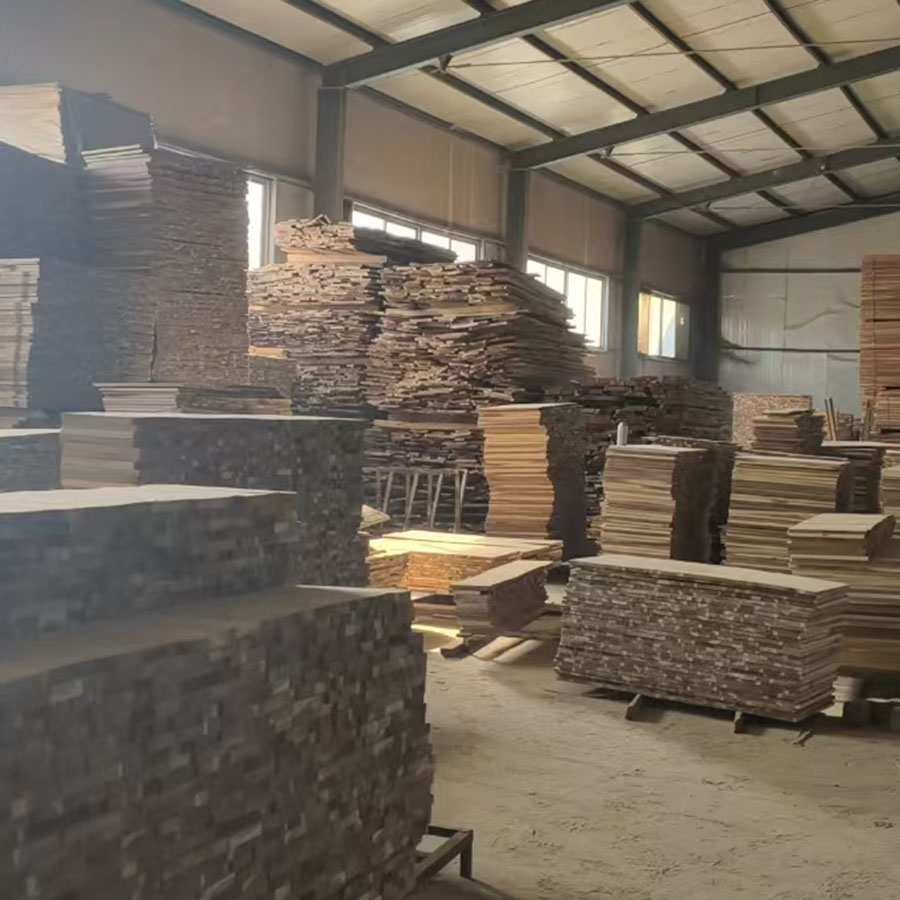
Step 1 — Timber selection and kiln drying
Every order starts at our timber yard. Paulownia, pine, bamboo, acacia, walnut and oak are stored in roofed but open-sided sheds, segregated by species and grade. Before any board touches a saw it has to pass through our drying kilns and reach 8–12% moisture content (MC).
This single step is the biggest reason cheap wooden boxes fail in the field. Wood at 18% MC will warp, cup, crack or split once it lands in a 30% relative humidity warehouse in Florida or a 60% humid summer in Sydney. We see it all the time — buyers who took the cheapest quote on the market and ended up with a 12% defect rate three months after their first shipment, then came to us to start over.
Our kilns run at 60–80°C with controlled humidity for anywhere from 7 to 21 days depending on board thickness and species. Walnut and oak take the longest because they are dense; paulownia dries fastest because it is light. Every board is checked with a pin-style moisture meter before it leaves the kiln, and the readings are logged.
This step adds maybe $0.05 to the cost of a tea box. It saves $5 in returns and replacements. The math is not subtle.
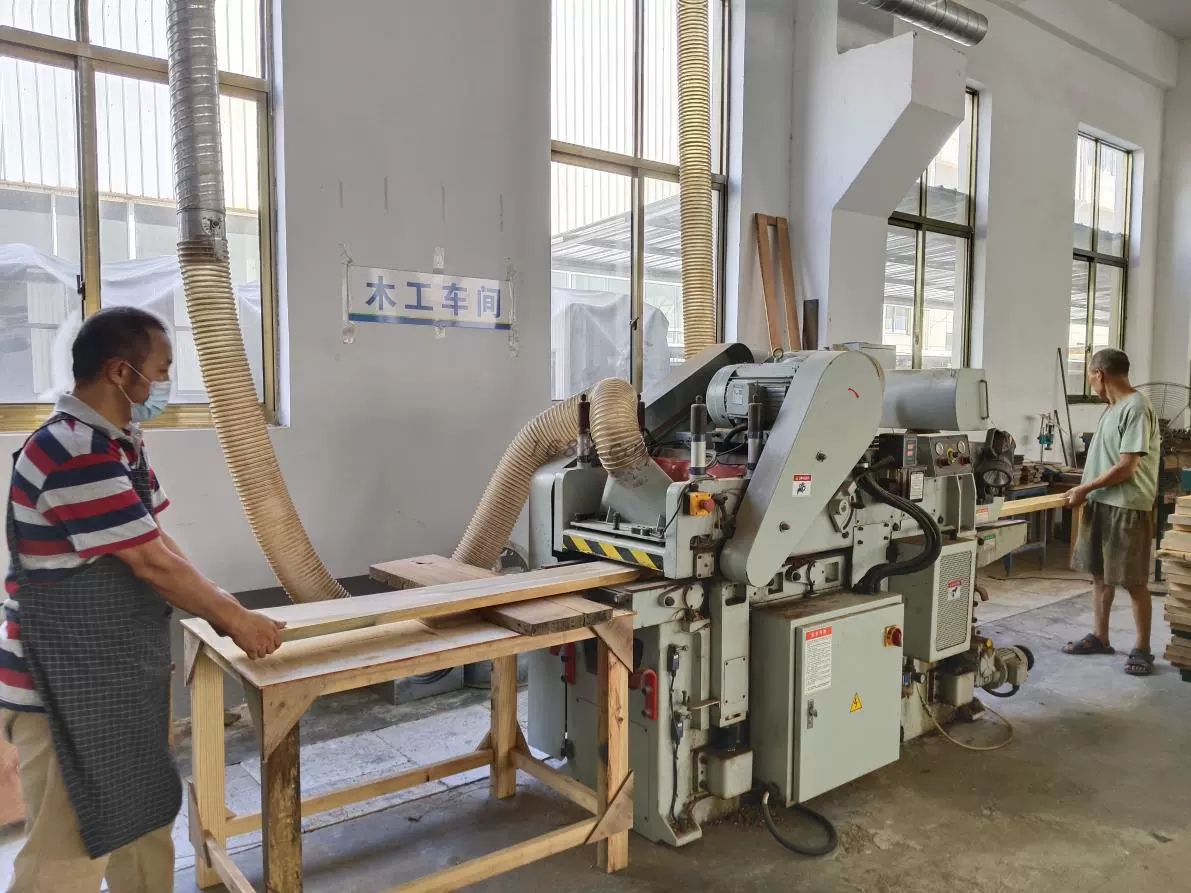
Step 2 — Cutting to size
Once timber is dry, boards move into the dimensioning room. This is where we turn raw planks into the precisely sized parts that will become a box.
We use industrial table saws, panel saws and a computer-controlled beam saw for high-volume orders. Tolerances at this stage are ±0.5 mm — tighter than you need for furniture, but necessary for boxes where the lid has to sit flush and the joinery has to lock together cleanly.
For a custom order, we program the saws directly from your CAD file or from our internal 3D mockup. Every part gets cut to spec — sides, top, bottom, base, lid frame, lid panel, dividers — with no eyeballing and no guesswork. Our nesting software arranges the parts on each board to minimize offcut waste, typically achieving 88–92% material yield. Offcuts go to a sister facility that produces wooden beads, handles and small turned components, so almost nothing reaches landfill.
Cut parts leave this stage as labeled stacks, organized by box and by SKU. From here they go to the joinery shop.
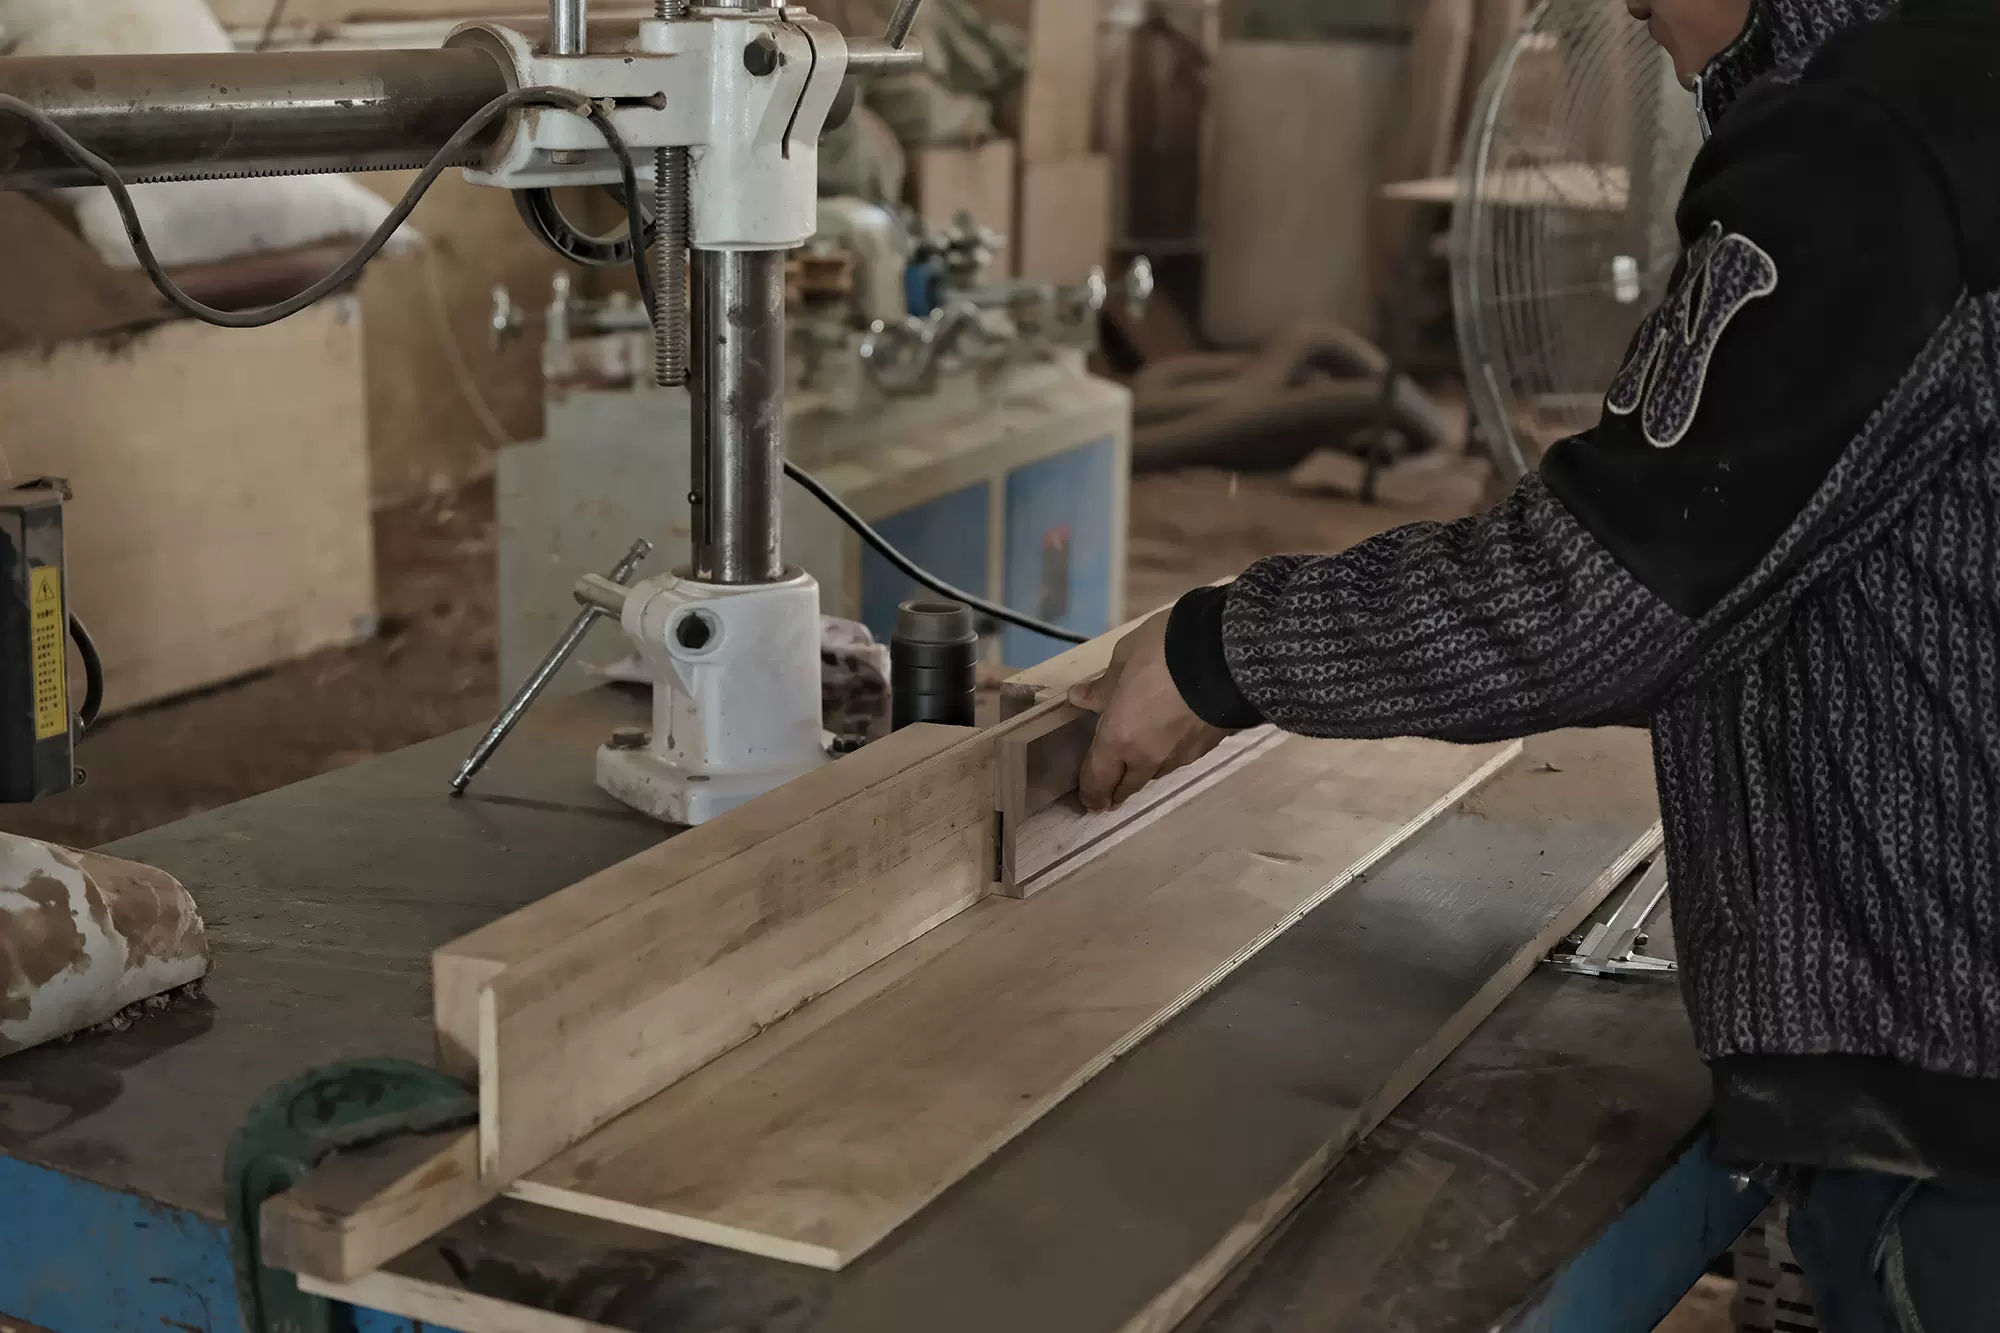
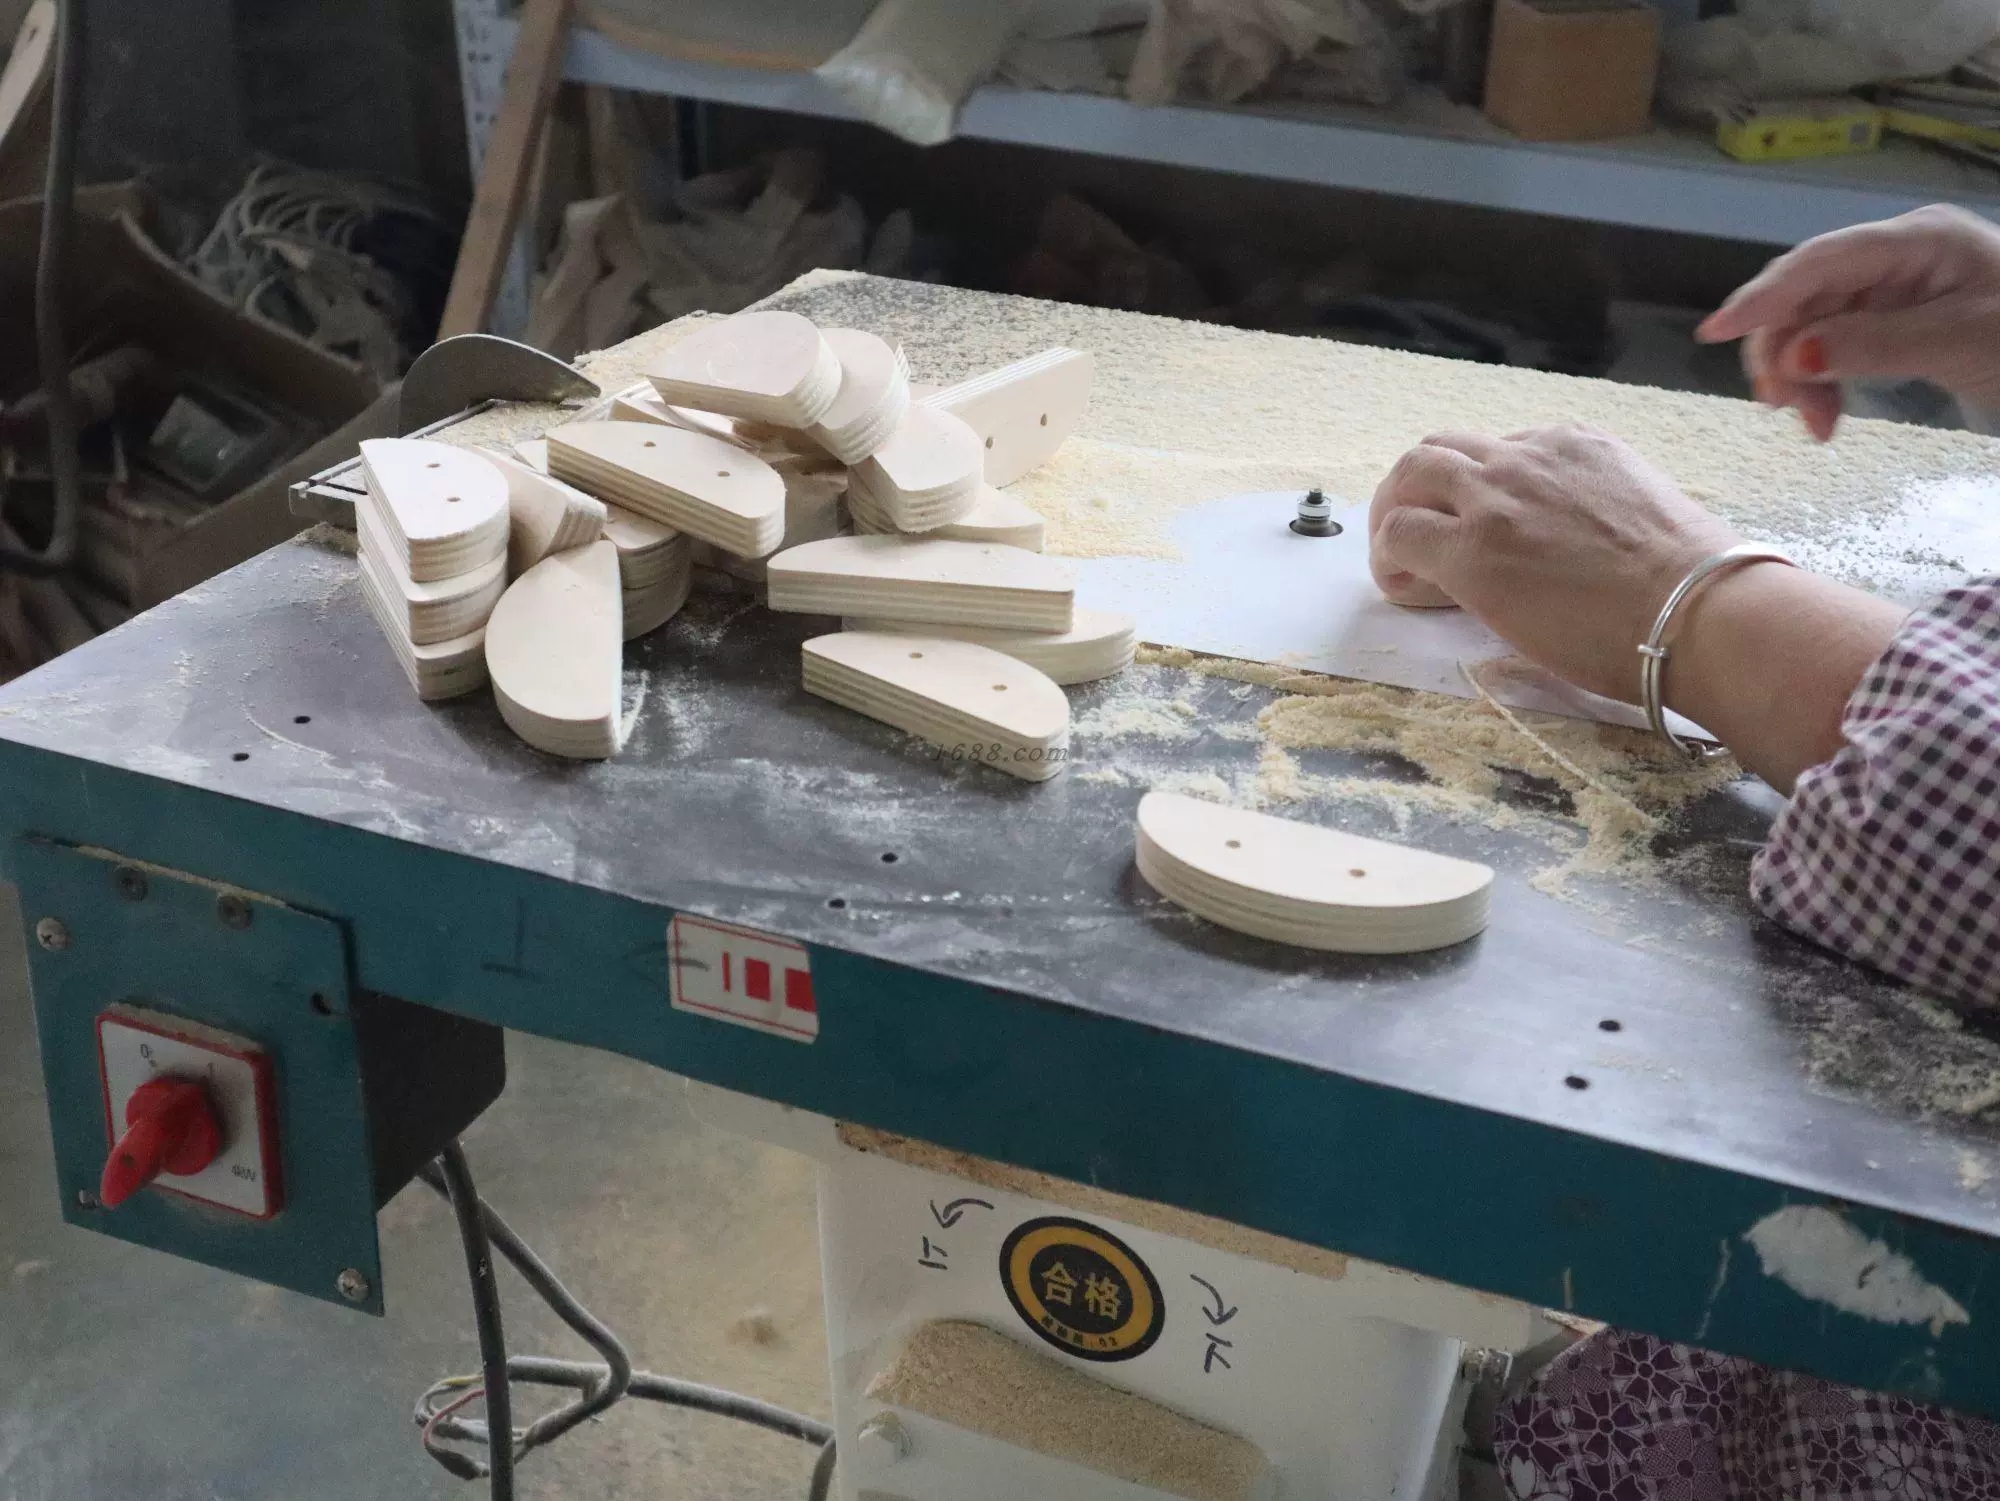
Step 3 — Shape and joinery
Step 3 is where boxes pick up their personality. CNC routers handle every cut that is not a straight line: chamfered and rounded edges, dado grooves for sliding lids, mortises for hinges and locks, finger joints and dovetails for sides, slots for internal dividers.
Each CNC machine runs from a CAM file generated from the same 3D model that drove the saws. Tolerances here are tighter — ±0.3 mm — because the parts have to fit together cleanly without visible glue lines or hardware-induced gaps.
This is also where the box's "feel" gets engineered. A 2 mm chamfer on a lid edge changes how a buyer's hand reads the box. A finger joint shows craftsmanship; a butt joint with internal screws hides it. A 1 mm radius on internal divider edges takes longer to machine but means the dividers do not gouge whatever is stored inside. The choices we make at this stage are mostly invisible to the end user — but they are exactly what separates a $3 box from a $30 box.
Step 4 — Pre-assembly and dry-fit
Before any glue or hardware goes in, every part of the box is dry-fitted to confirm joinery is tight, lids close flat, drawers slide smoothly. This sounds obvious but most lower-end factories skip it — they go straight from cut parts to glue-up and hope for the best.
We catch about 2–3% of parts at this stage. Usually small things: a divider slot that is 0.4 mm too tight, a hinge mortise that needs cleaning out, a base panel that has cupped slightly during finishing prep. These get sent back to the joinery shop to be re-cut on the spot.
The cost of catching a problem here is about 30 seconds of an operator's time. The cost of catching the same problem after final assembly is 15 minutes of disassembly, refinishing and re-glue. The cost of catching it after a customer complaint is the box itself, plus replacement freight, plus the brand damage you cannot put a number on.
This is one of the steps you should ask any factory about when you visit. If they cannot show you a dry-fit station, they do not have one — and your defect rate will tell you about it later.
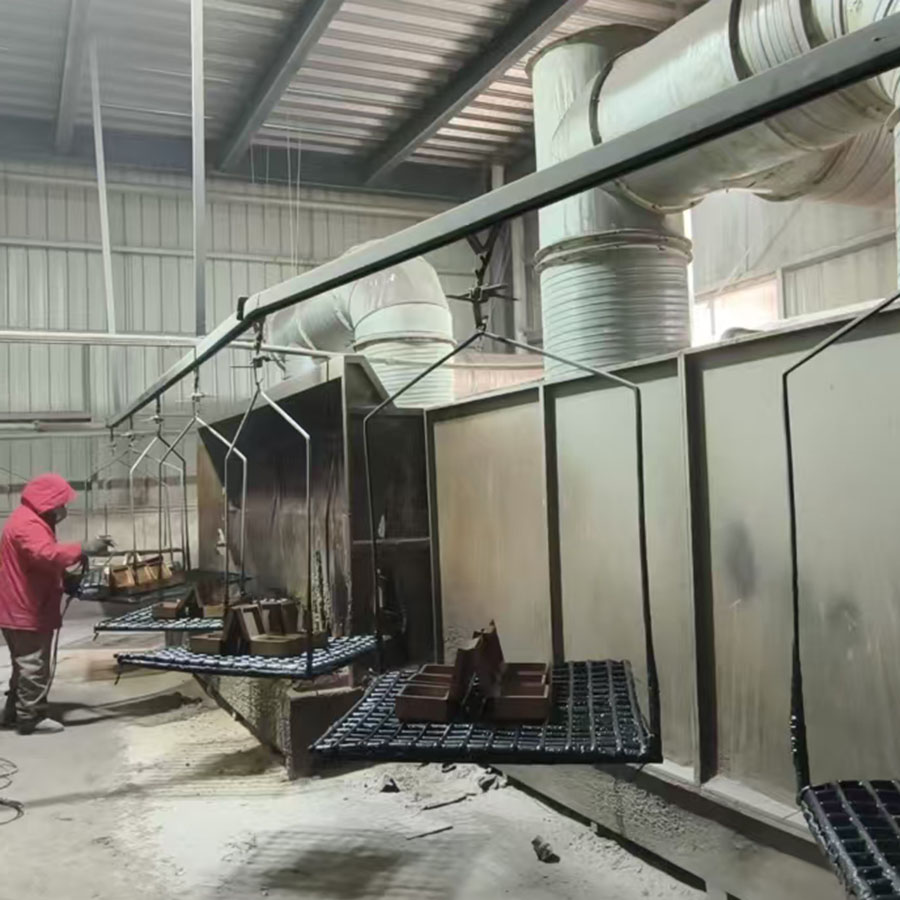
Step 5 — Sanding, finishing and polishing
Once boxes are glued and clamped, they move to the finishing line. Our finishing line has three sub-steps that together account for almost half the labor in a box.
Sanding
Boxes go through three grits in sequence — 180, 240, 320 — and a fourth pass at 400 grit for premium walnut and oak work. Most of the sanding is done by hand because corners and inside edges are hard to reach with orbital sanders. Each box takes about 4–5 minutes at this stage. A skilled sander is one of the most valuable people in the factory.
Finishing
Finish choice depends on the box. Food-safe lacquer for tea boxes, spice racks and bread bins. Beeswax or mineral oil for cutting boards and serving boxes. Water-based lacquer (low-VOC, EU REACH and US CARB P2 compliant) for general use. Premium walnut and oak get oil + wax for that hand-finished look that machine-applied finishes cannot match.
Each finish coat needs to cure for 4–8 hours before the next coat. This is the biggest single contributor to the 14-day calendar lead time — the wood is doing nothing, but the finish is curing. Skipping cure time produces finishes that look fine on day one and feel sticky in week three.
Polishing
After the final finish coat cures, boxes get hand-polished with a soft cotton wheel. This is the difference between a box that looks "manufactured" and one that looks "crafted." It adds about 2 minutes per box but it is one of the first things buyers notice when they unbox a sample.
Step 6 — QC, packing and export documentation
Every order goes through a 3-stage quality control process. We are obsessive about this — it is how a factory of our size keeps a defect rate that buyers can verify with their own third-party inspections.
Stage 1 — Incoming material inspection
Done at the timber yard. Boards that are too wet, too warped, or have unacceptable knots, splits or color variation never enter the production stream. About 5–8% of incoming timber gets rejected at this stage and returned to the supplier.
Stage 2 — In-process checks
Random sampling at the cutting, joinery and pre-assembly stages. About 1 in every 20 parts gets measured against the spec drawing with calipers. Anything outside tolerance triggers a re-check of the previous 50 parts and, if needed, a re-calibration of the saw or CNC.
Stage 3 — Pre-shipment final inspection
Every single finished box gets visually checked against the approved sample. Lids are opened and closed. Drawers are slid. Hardware is tested. Surfaces are inspected under bright light. About 0.4% of boxes fail this final inspection and either get reworked or scrapped — that is the defect rate we publish to buyers.
Once boxes pass final QC, they are wrapped in tissue or polybags, packed into individual retail cartons or bulk master cartons, palletized, and loaded with the full export documentation packet: commercial invoice with HS codes, packing list with carton-by-carton breakdown, phytosanitary certificate for solid wood, certificate of origin, and bill of lading.
This documentation goes to your forwarder before the container leaves the port. It is what turns a pallet of boxes into something that can clear customs in 60+ countries without delay.
Seven questions to ask any factory
If you are evaluating a wooden box factory — visiting in person, doing a video tour, or just doing due diligence by email — here are the seven questions that, in our experience, separate real production-grade manufacturers from agents and middlemen who sub-contract to anyone available.
- "What moisture content do you dry timber to, and how do you measure it?" — anything other than "8-12%, with pin-style meter readings logged" is a warning sign.
- "Can I see your dry-fit station?" — if they look confused, they do not have one.
- "What is your incoming material rejection rate, and what happens to rejected boards?" — should be 5-8% rejection, returned to supplier.
- "How many QC stages do you have, and what triggers a re-check?" — should be 3 stages with documented triggers.
- "Can I see the test reports for your finishes?" — REACH, CARB and food-safe certificates should be ready in 24 hours.
- "What is your typical defect rate at final inspection?" — under 1% is good, under 0.5% is excellent.
- "How do you handle problems caught after shipment?" — the answer reveals more about the factory than any sales pitch will.
A factory that answers all seven crisply with documents to back them up is one you can build a long-term relationship with. A factory that pivots to "we have great quality, trust me" without specifics is one to walk away from — politely and quickly.
What goes wrong when steps get skipped
Every shortcut taken in our six-step process shows up somewhere downstream — usually in a customer warehouse or on an Amazon review page. The most common shortcuts and what they cost:
Skipping kiln drying
Saves about 7-14 days of production time and roughly $0.05 per box. Costs you a 5-15% defect rate three months after shipment when boxes warp in destination climates. Net: catastrophic for repeat business.
Skipping dry-fit
Saves about 30 seconds per box. Costs you 2-3% rework rate at final assembly, plus invisible defects that pass internal QC and surface as customer complaints. Net: 15-20× the time saved.
Reducing finish coats from 3 to 2
Saves 4-8 hours of cure time and about $0.15 per box. Costs you visibly thin finish that wears through within a year of normal use. Net: cheap on day one, expensive on day 365.
Six steps, every box. The discipline of doing the same six steps the same way every time is what makes a wooden box manufacturer reliable at scale. Anything else is just hoping.
That Amsterdam buyer flew home the next day with photographs of his next 18,000 boxes coming off the line. He has not asked the question again — but every time we onboard a new buyer we walk them through these six steps, in person if they can visit, on video if not. The more you understand what is actually happening between order confirmation and dock-side delivery, the better the boxes you end up with.
And the better the conversations you can have with us when something does not look right — because in manufacturing, something always eventually does not look right, and how it gets fixed is what defines a real partnership.